Introduction
AMQP (Advanced Message Queuing Protocol) is a popular protocol used for communication between messaging middleware and clients. At the time of this writing, the latest version of the AMQP is 1.0, but we will focus on version 0-9-1 instead. 0-9-1 is the default version shipped with the popular AMQP Broker (server) implementation RabbitMQ.
In this tutorial, we will learn how to install and set up our own RabbitMQ server using Docker.
Goals
At the end of the tutorial, you would have learned:
- How to install RabbitMQ server with Docker.
Tools Required
- A computer that is known to work well with Docker Desktop, which should support hardware virtualization.
- If you are familiar with Docker Engine itself, and you are on Linux without hardware virtualization, then you can still attempt to follow this tutorial via CLI.
Prerequisite Knowledge
- Docker Desktop Basics.
- Basic Linux Administration.
Project Setup
To follow along with the tutorial, perform the steps below:
- If you do not already have it, install Docker Desktop on your computer.
Start Docker Desktop and navigate to the Dashboard.
Install The Official RabbitMQ Image
First, we will install RabbitMQ using the official Docker image from Docker Hub. Before installing the image, let us inspect that command that we will use,
docker run -d -h container-hostname --name daniweb-rabbit -e RABBITMQ_DEFAULT_USER=user -e RABBITMQ_DEFAULT_PASS=password -p 80:15672 -p 5672:5672 rabbitmq:3-managementYou can find the breakdown of the command above in the following list:
- docker run: run a command in a new container.
- -d (--detatch): run the container in the background and prints the container ID.
- -h container-hostname (–hostname): sets the container’s Linux hostname to container-hostname.
- --name daniweb-rabbit: sets the container’s name to daniweb-rabbit. This is useful if you want the container to have a meaningful name. This is optional. If you do not set a name, then Docker will generate one for you.
- -e RABBITMQ_DEFAULT_USER=user: assigns the value
userto the environment variableRABBITMQ_DEFAULT_USER, which RabbitMQ will then use to create the default user. - -e RABBITMQ_DEFAULT_PASS=password: similarly, set the password for the default user to
password. - -p 80:15672 (--publish): binds port 15672 on the container to port 80 on the host (your computer). The port 15672 is used for the management interface, which we will look at later.
- -p 5672:5672 (--publish): binds port 5672 on the container to port 5672 on the host. This port is used by default for non-TLS connection from the client side.
- rabbitmq:3-management: finally, this is the docker image that we are trying to use. The default image is called
rabbitmq, but we used the3-managementtag to specify that we want the variant with the management console instead.
After running the command, you should have received the ID for the container (because of the -d flag). Mine looks like this, but yours will be a different string.
2c0ba8b9a2eaa99e20411c9ae47c93db0cfd92a7274e0d940432afe6c93c5a38View The Container In Docker Desktop Dashboard
After you have completed the previous step, the container should show up when you switch back to Docker Desktop’s Dashboard, under Containers.

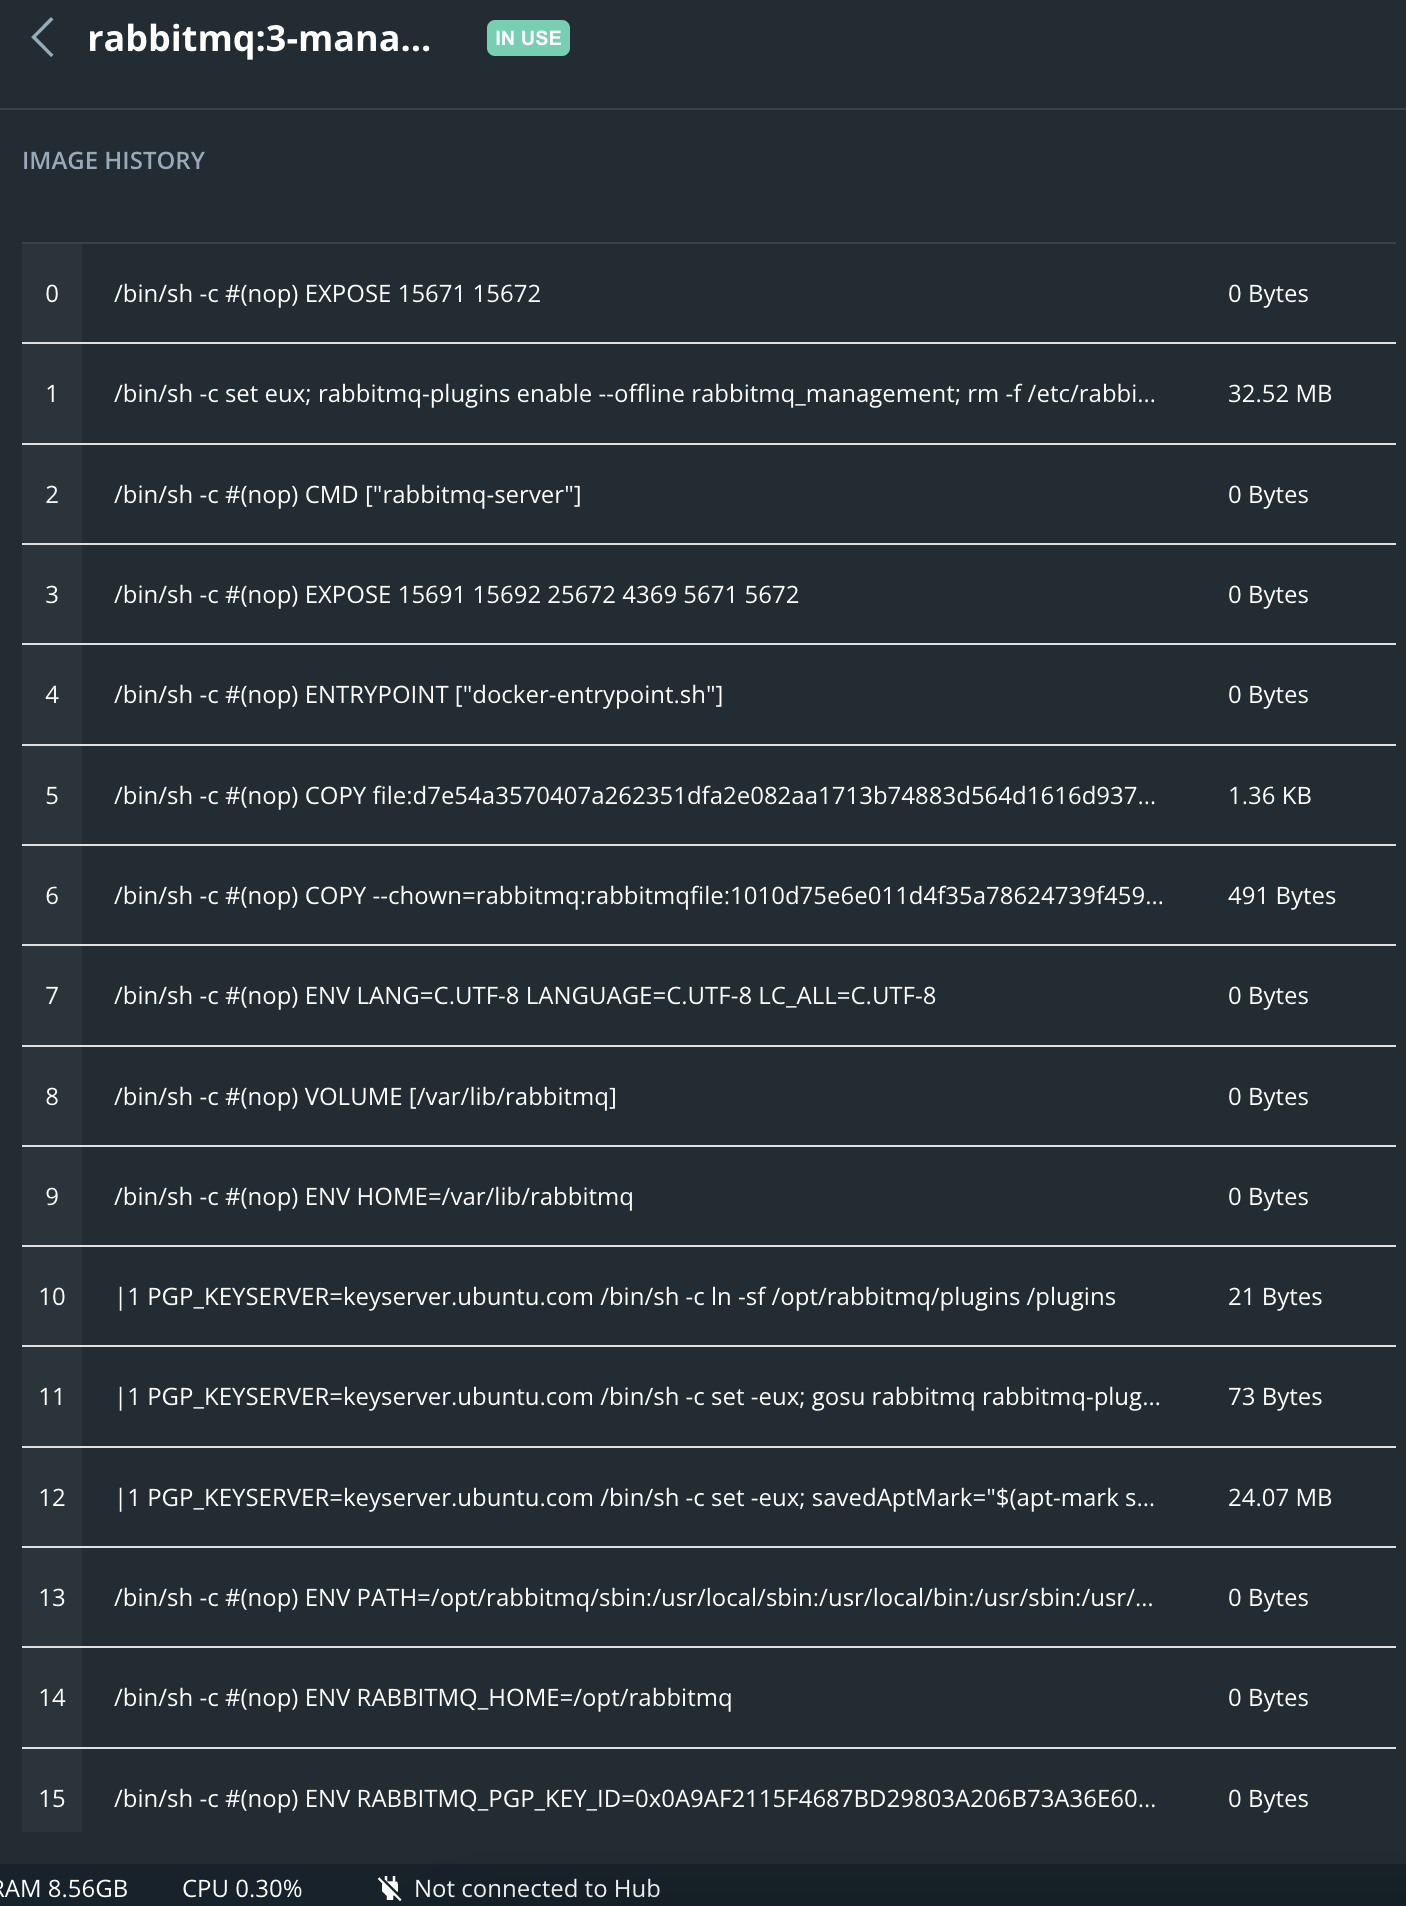
If you select the image name rabbit:3-management (in blue), then you can see the commands that are executed on your container to set up your RabbitMQ server. The commands here are managed by the dockerfile of the image.
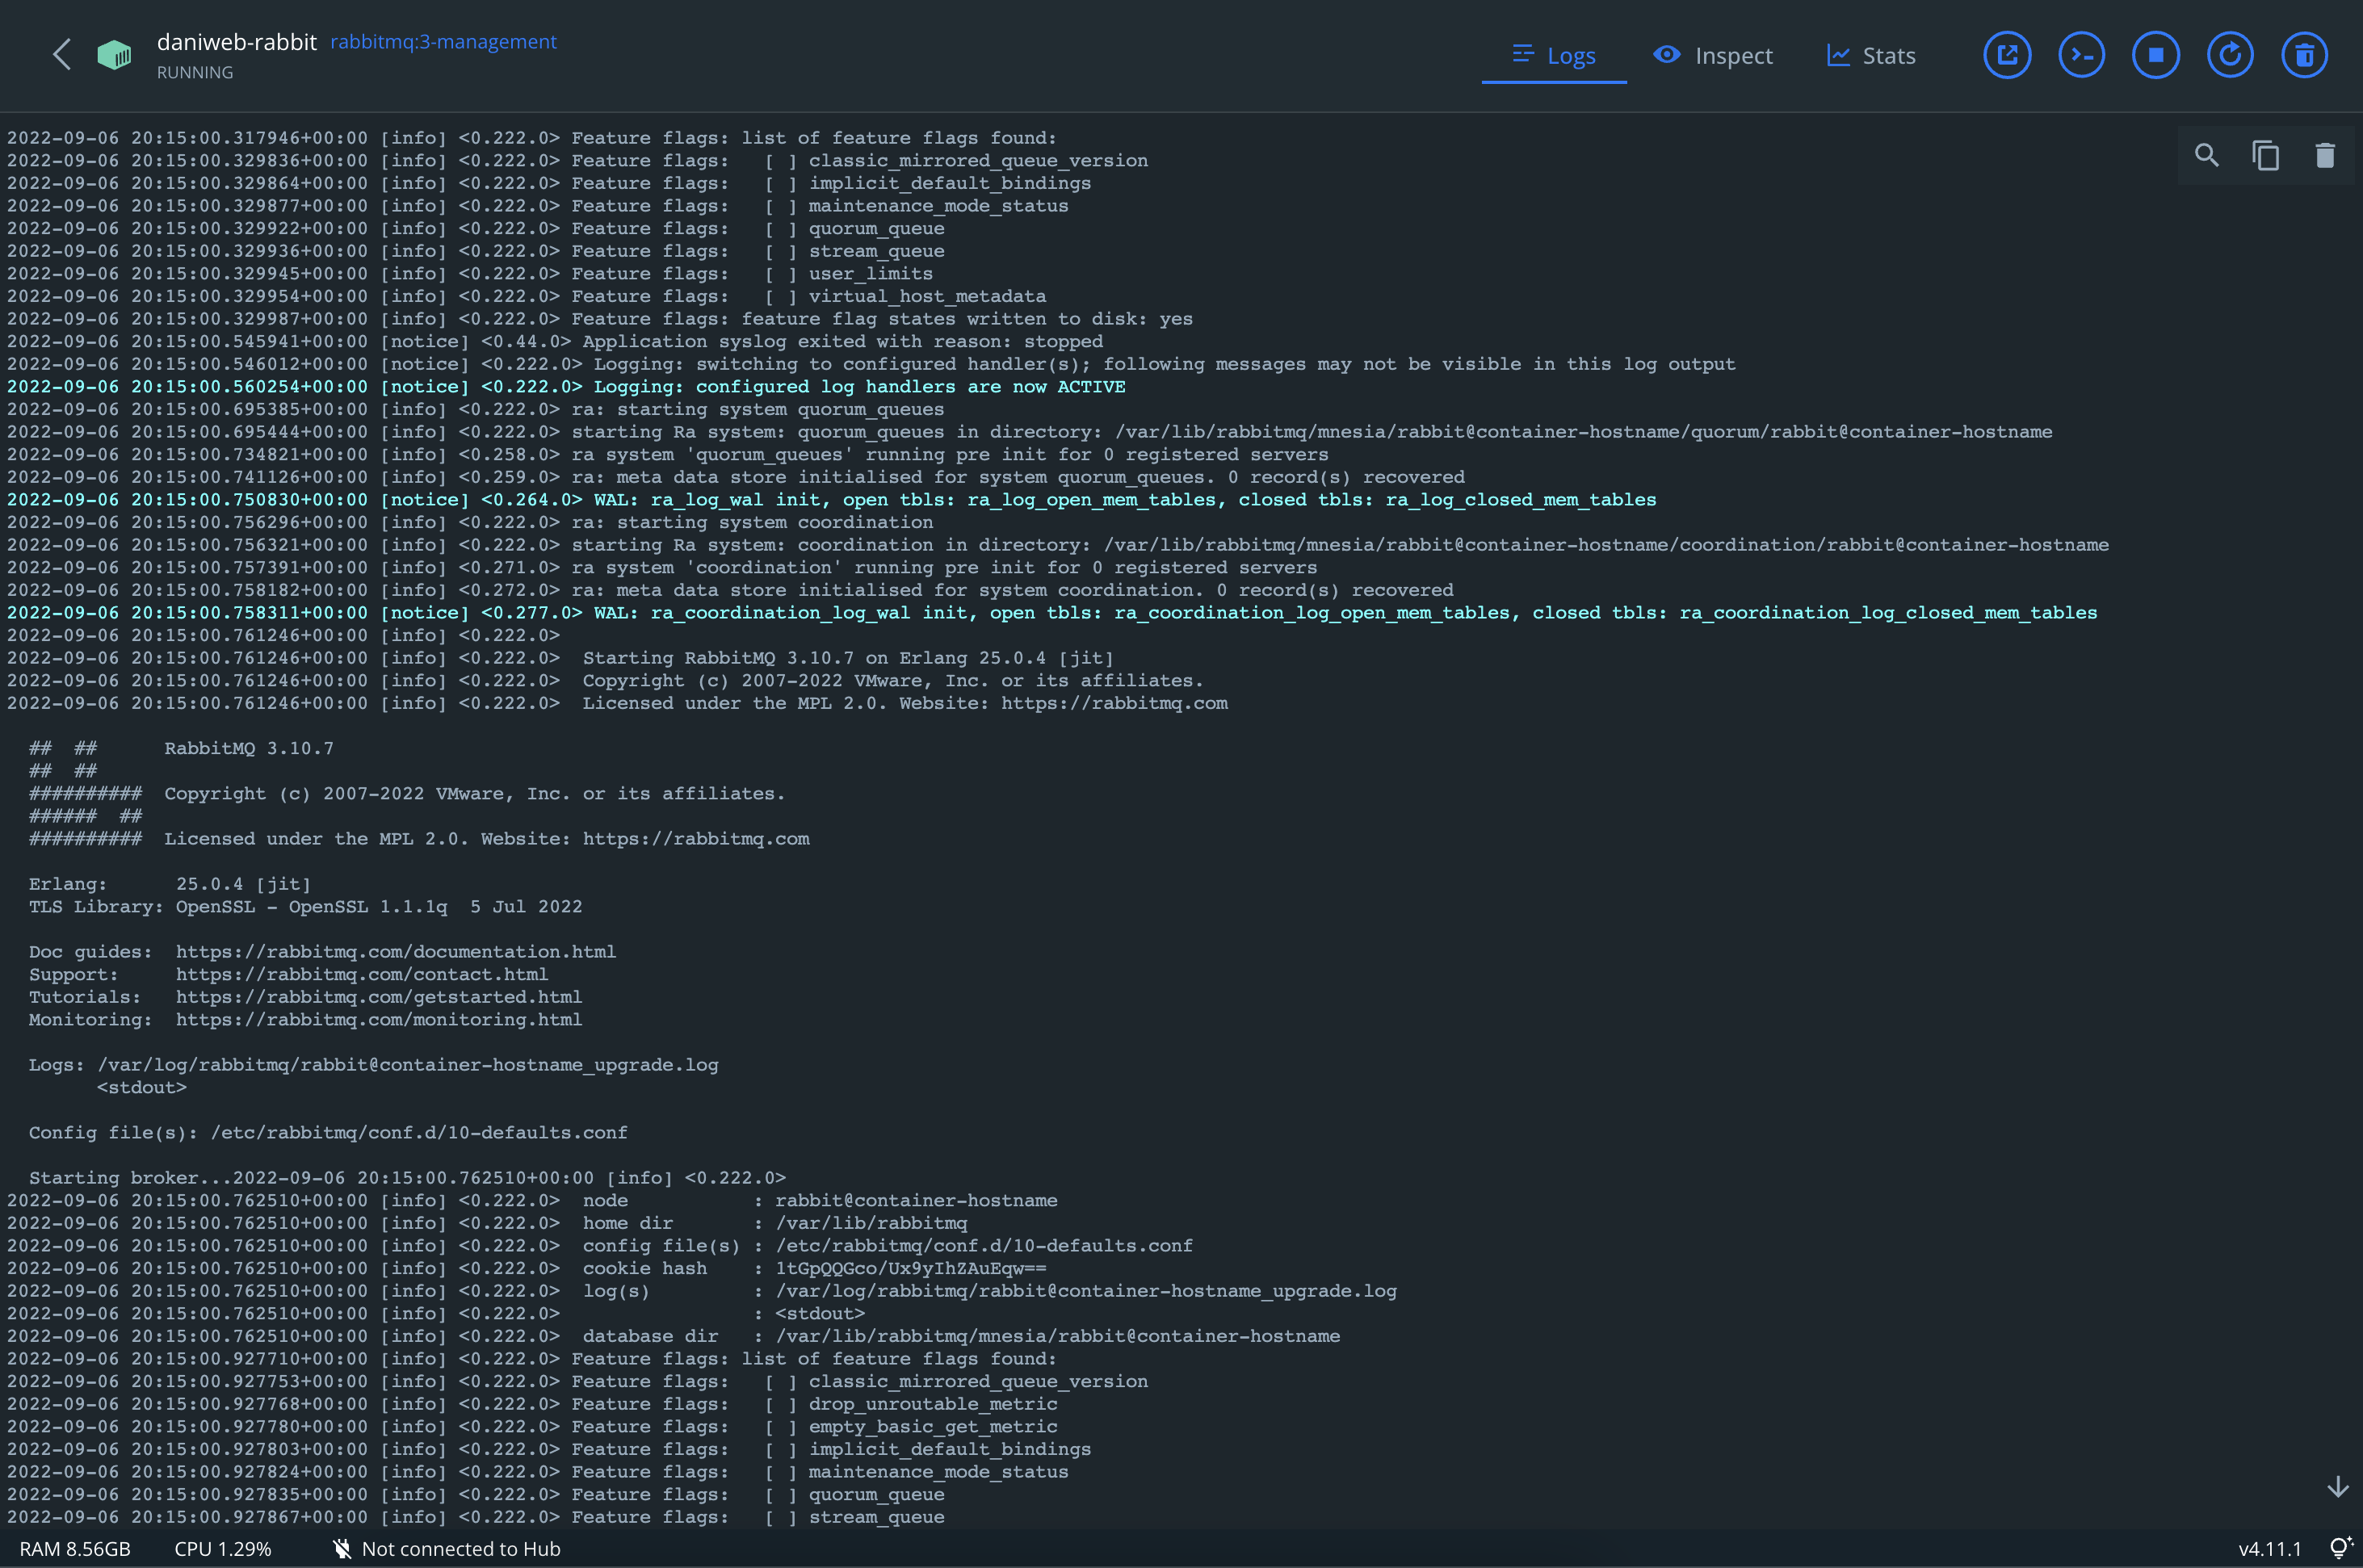
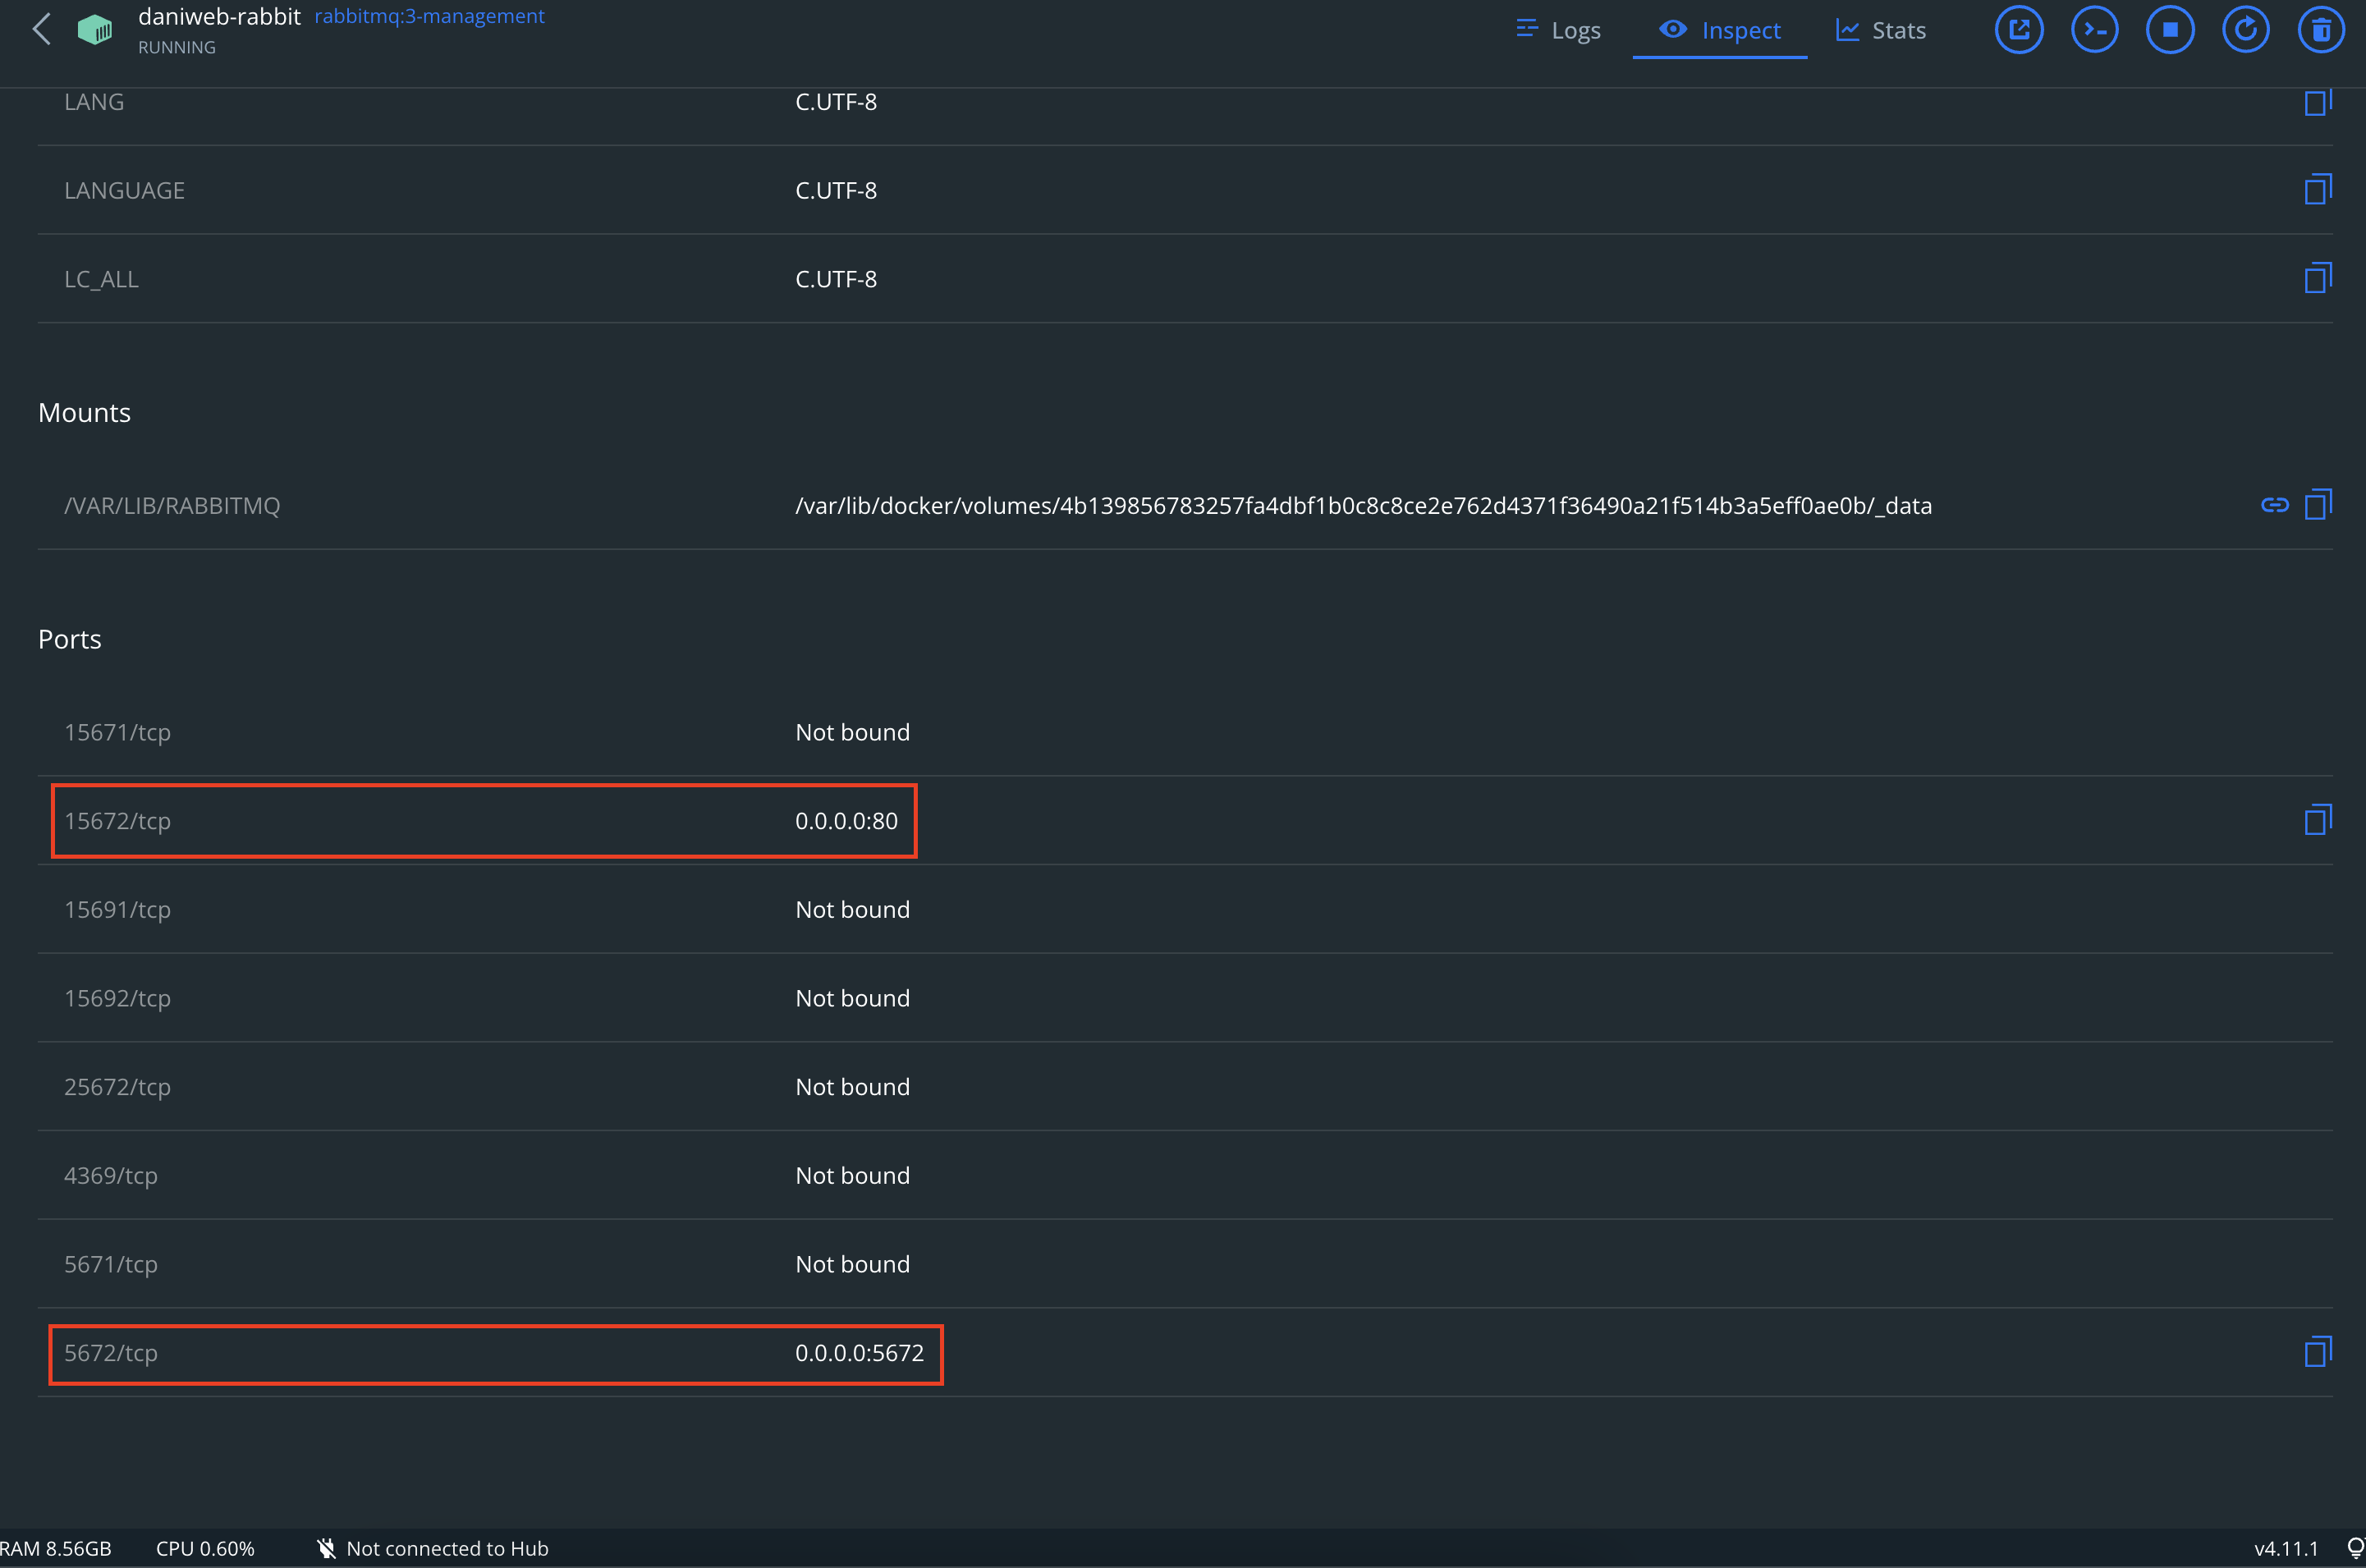
Alternatively, selecting the image name daniweb-rabbit will let you see the application logs and inspect the Linux environment for the container.
Remember the username, password, and port forwarding that we specified earlier in the tutorial? You can see them in the Inspect tab now.

Everything that you see in the Docker Desktop Dashboard is also available in the Docker CLI tools, if you prefer that instead.
Connect to the RabbitMQ Server
Finally, it is time to connect to our server. You can do this via the Dashboard by selecting the Open with Browser button

or simply navigating to localhost using a web browser (you can skip the port for port 80).
After the page loads, log in with user/password.
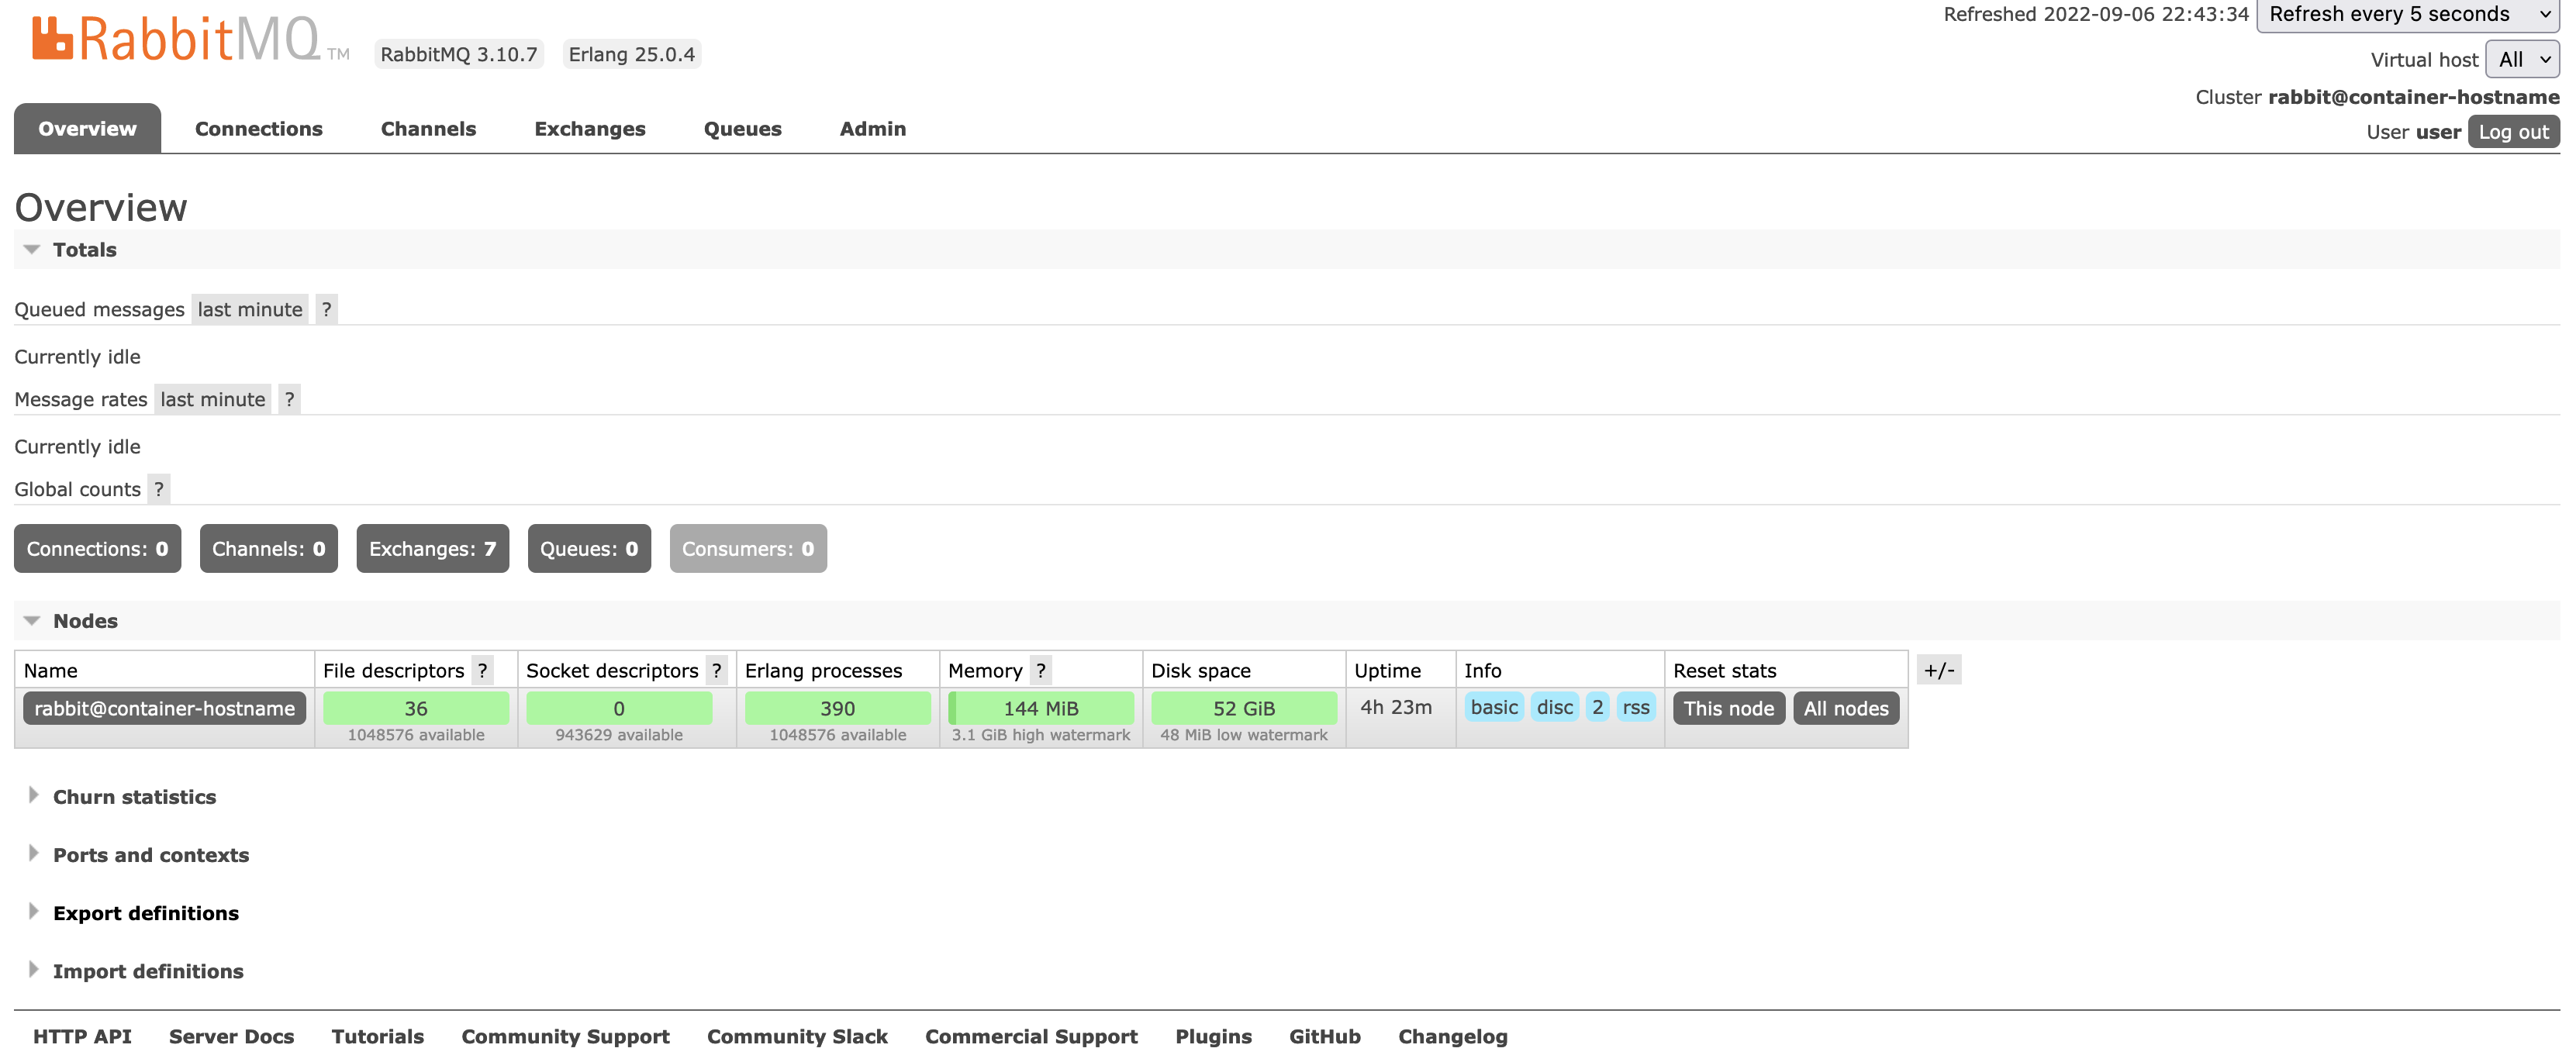
And then you will be greeted by the management interface.

Summary
Congratulations, you have learned how to set up your own RabbitMQ server in a Docker container in this tutorial. In the next tutorial, we will discuss how to set up our own exchanges and queues in RabbitMQ.
On Windows (non-WSL) and macOS, Docker Desktop will spin up a full-blown Linux VM, which consumes a vast amount of RAM. Please make sure to stop the container via the Docker Desktop Dashboard, and reboot if necessary, after you have completed the tutorial.