In one of my previous articles, I explained how to generate stunning images for free using diffusion models and showed how to generate Stability AI's diffusion models for text-to-image generation.
Since then, the AI domain has progressed considerably, particularly in image generation. Black Forest Labs has released Flux.1 series of state-of-the-art vision models.
In this article, you will see how to use Flux.1 models for text-to-image generation and text-to-image modification. You will import Flux models from Hugging Face and generate images using Python code.
So, let's begin without ado.
Installing and Importing Required Libraries
Flux models are gated on Hugging Face, meaning you have to log into your account to access Flux models. To do so from a Python application, particularly Jupyter Notebook, you need to download the huggingface_hub module. In addition, you need to download the diffusers module from Hugging Face.
The script below downloads these two modules.
!pip install huggingface_hub
!pip install git+https://github.com/huggingface/diffusers.git
Note: To run scripts in this article, you will need Nvidia GPUs. You can use Google Colab, which provides free Nvidia GPUs.
Next, let's import the required libraries into our Python application:
from huggingface_hub import notebook_login
import torch
import matplotlib.pyplot as plt
from diffusers import FluxPipeline
from diffusers import FluxImg2ImgPipeline
from diffusers.utils import load_image

notebook_login() # you need to log into your hugging face account using access token
Text to Image Generation with Flux
Flux models have two variants: timestep-distilled (FLUX.1-schnell) and guidance-distilled (FLUX.1-dev). The timestep-distilled model requires fewer sampling steps and has a maximum sequence length of 256, while the guidance-distilled variant needs about 50 sampling steps for good-quality generation and has no limitations on max sequence length.
We will use the guidance-distilled Flux.1-dev model for text-to-image generation.
The following script creates a Hugging Face pipeline by importing the pretrained Flux.1-dev model from Hugging Face.
pipe = FluxPipeline.from_pretrained("black-forest-labs/FLUX.1-dev", torch_dtype=torch.bfloat16)
pipe.enable_model_cpu_offload()
Next, for image generation, you must pass the text prompt, the output image's height and width, the guidance scale, the number of interference steps, and the maximum sequence length for the input text.
The guidance_scale parameter influences how closely the generated image adheres to the prompt. Its value ranges between 0 and 20. The num_inference_steps determines the number of denoising steps, affecting the quality and generation time. A higher number of inference steps results in a higher-quality image but takes more time to generate.
The following script will generate an image of a girl standing in front of the Eiffel Tower, holding a sign that says, "Welcome to Paris."
prompt = "A little girl standing in front of eifel tower holding a sign that says welcome to Paris"
image = pipe(
    prompt,
    height=1024,
    width=1024,
    guidance_scale=3.5,
    num_inference_steps=50,
    max_sequence_length=512,
    generator=torch.Generator("cpu").manual_seed(0)
).images[0]
image.save("girl-in-paris.png")
Output:
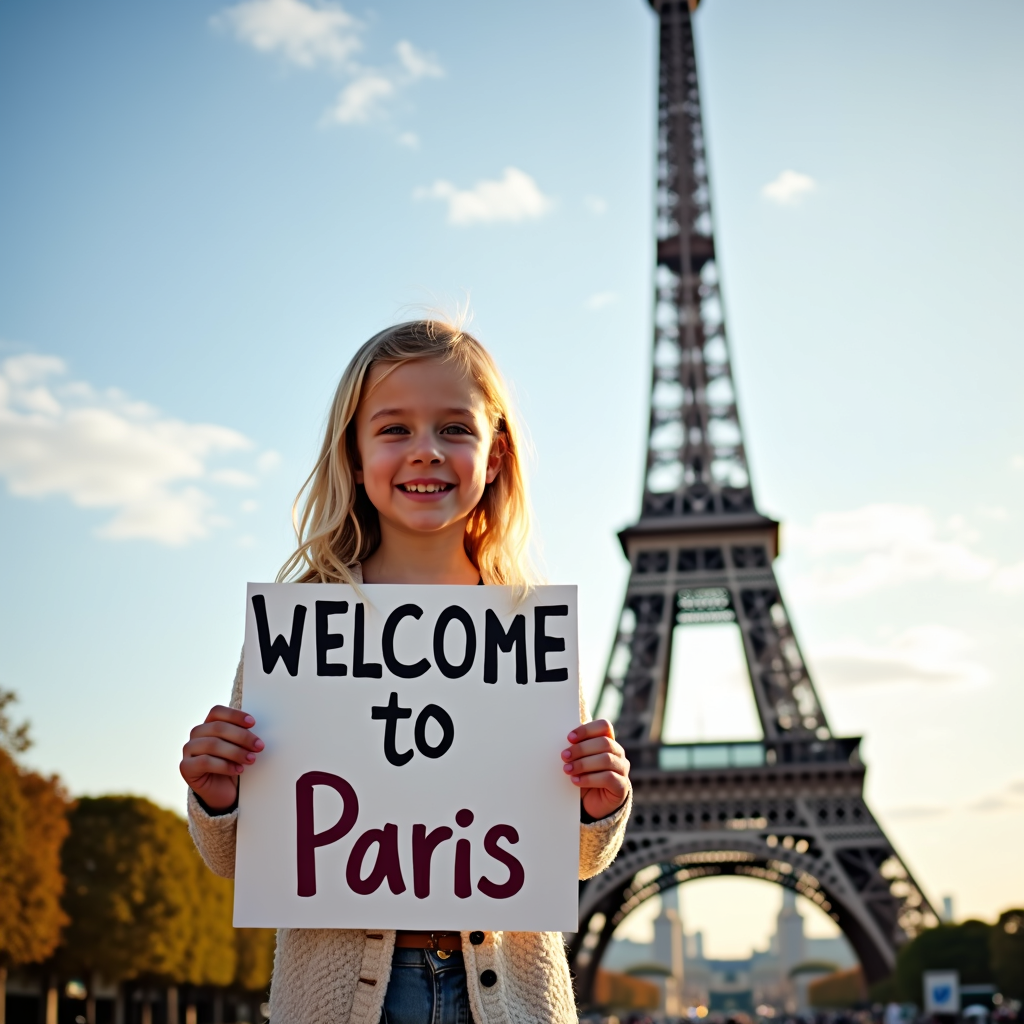
From the above output, you can see that the model can generate a photo-realistic image.
Let's see another example. We will generate an image of a baby riding a line in Times Square, NY, with an elephant in the background.
prompt = "A baby riding a lion in time square new york with elephants in the background"
image = pipe(
    prompt,
    height=1024,
    width=1024,
    guidance_scale=10,
    num_inference_steps=50,
    max_sequence_length=512,
    generator=torch.Generator("cpu").manual_seed(0)
).images[0]
image.save("baby_lion_time_square.png")
Output:
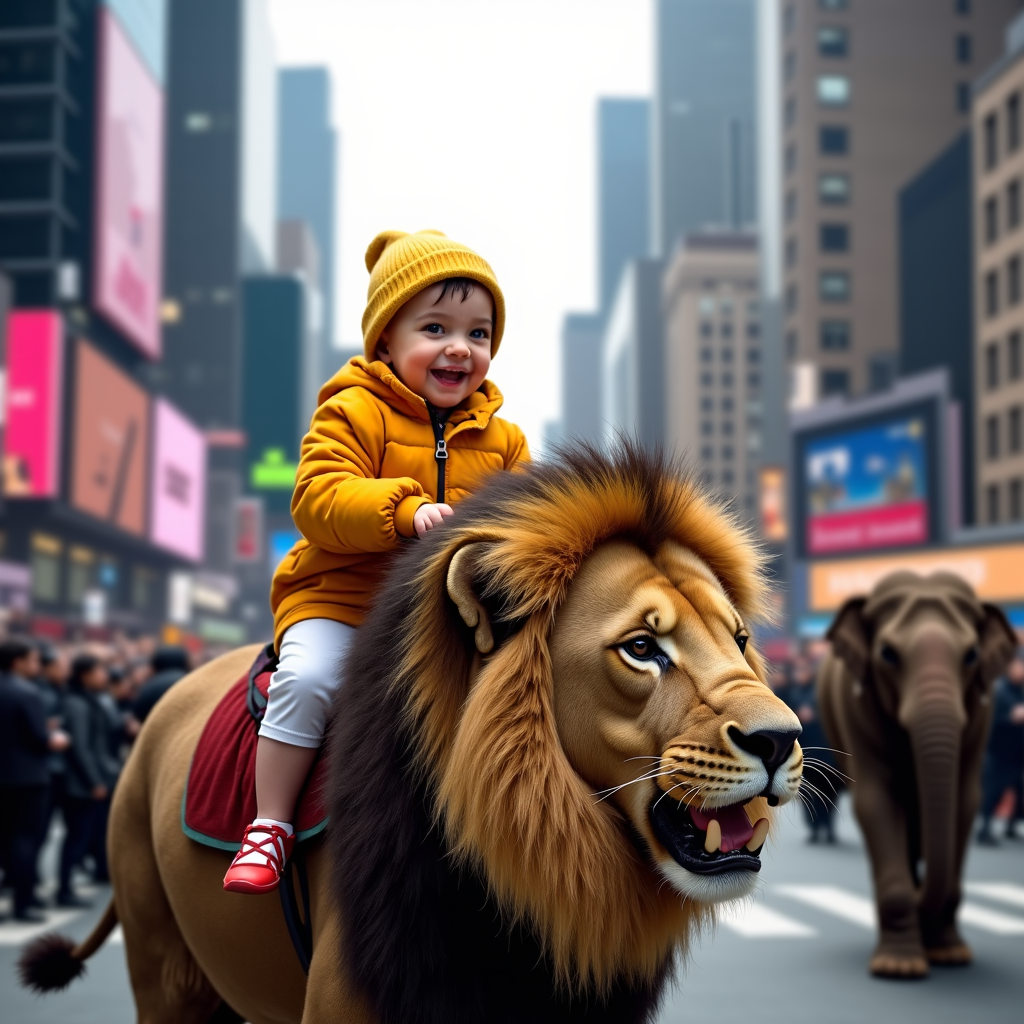
The above output shows that the model could generate all the details specified in the text prompt.
Finally, I will create a simple function that generates an image given a prompt and the output image name. You can use this function to generate images in your code.
def generate_image_from_text(prompt, image_name):
  image = pipe(
    prompt,
    height=1024,
    width=1024,
    guidance_scale=3.5,
    num_inference_steps=50,
    max_sequence_length=512,
    generator=torch.Generator("cpu").manual_seed(0)
  ).images[0]
  image.save(image_name + ".png")


prompt = "A golden duck swimming in a lake with mountains and sunset view in the background"
image_name = "duck_in_lake"
generate_image_from_text(prompt, image_name)
Output:
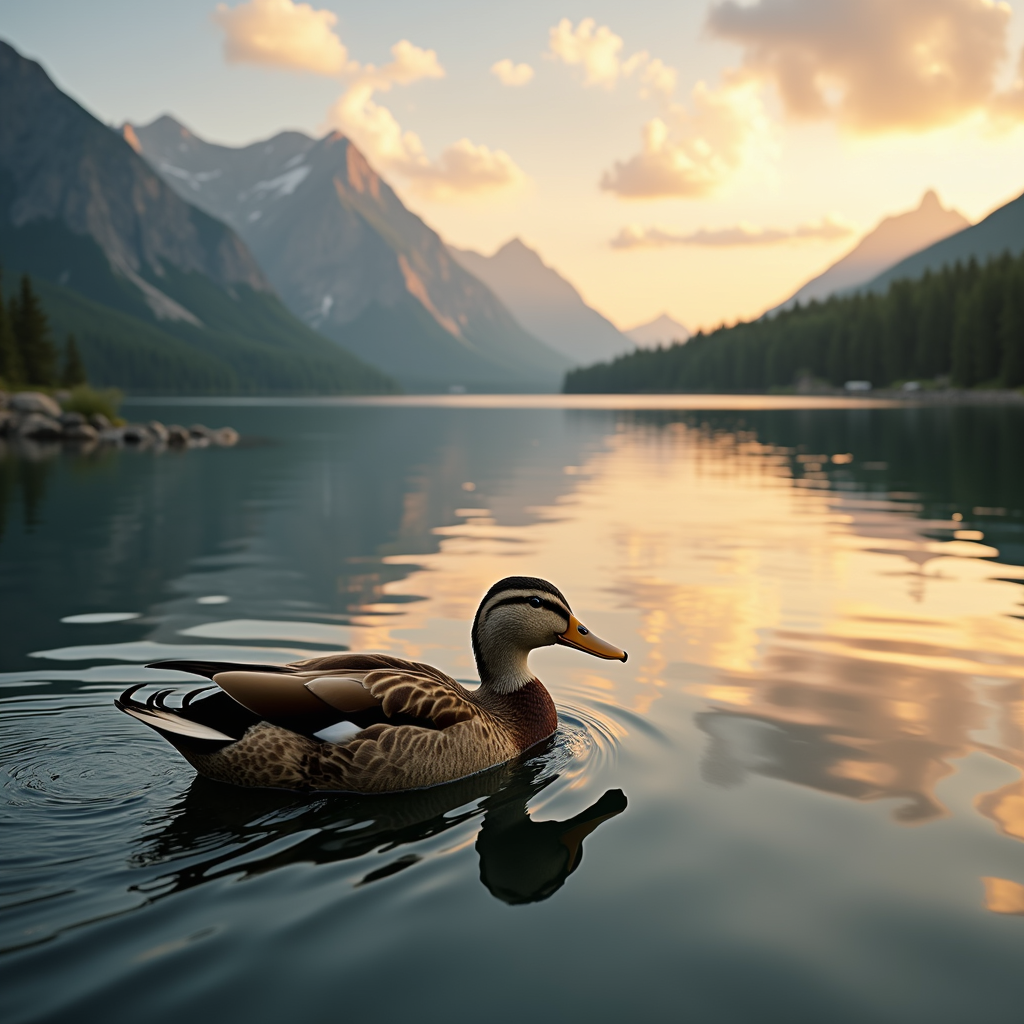
As you can see from the above output, the Flux.1-dev model generates very high-quality images based on text prompts.
In the next section, you will see how to modify existing images based on text prompts.
Image Modification using Text Prompts in Flux
We will use the timestep-distilled Flux.1-schnell model for image modification.
The following script creates a Hugging Face pipeline for the Flux.1-schnell model.
device = "cuda"
mod_pipe = FluxImg2ImgPipeline.from_pretrained("black-forest-labs/FLUX.1-schnell", torch_dtype=torch.bfloat16)
mod_pipe = mod_pipe.to(device)
We will modify the following Wikipedia image of the Pyramid of Giza by adding birds, camels, and a river.
Input Image:
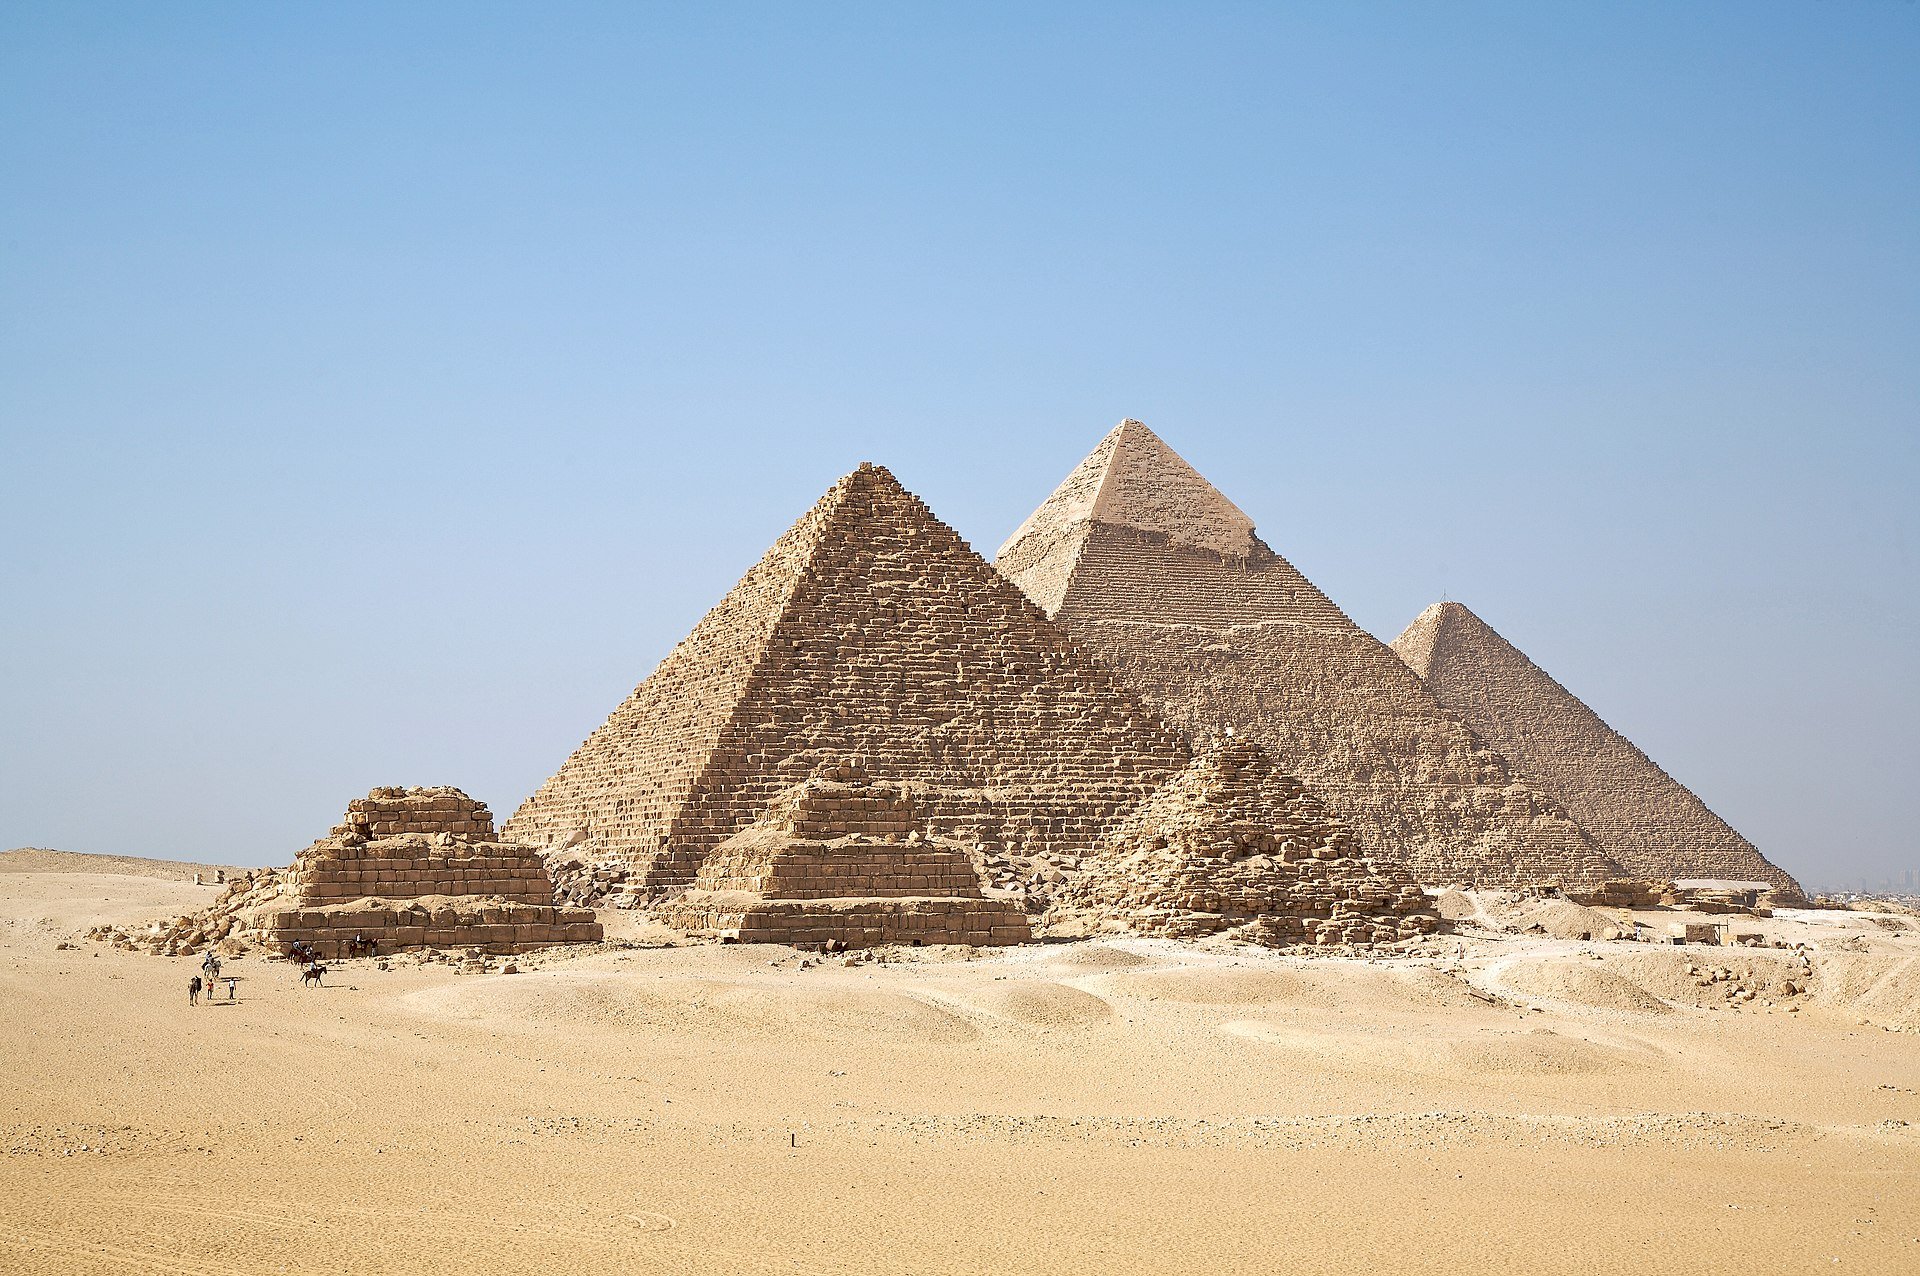
Image modification is similar to image generation, except we must also pass the strength parameter to the pipeline object. The strength parameter defines the extent to which the original image will be modified.
url = "https://upload.wikimedia.org/wikipedia/commons/thumb/a/af/All_Gizah_Pyramids.jpg/1920px-All_Gizah_Pyramids.jpg"
init_image = load_image(url)

prompt = "add birds, camels, and blue river"

images = mod_pipe(
    prompt=prompt,
    image=init_image,
    num_inference_steps=50,
    strength=0.75,
    guidance_scale= 7.5,
    ).images[0]

images.save("pyramids_modified.png")
Output:
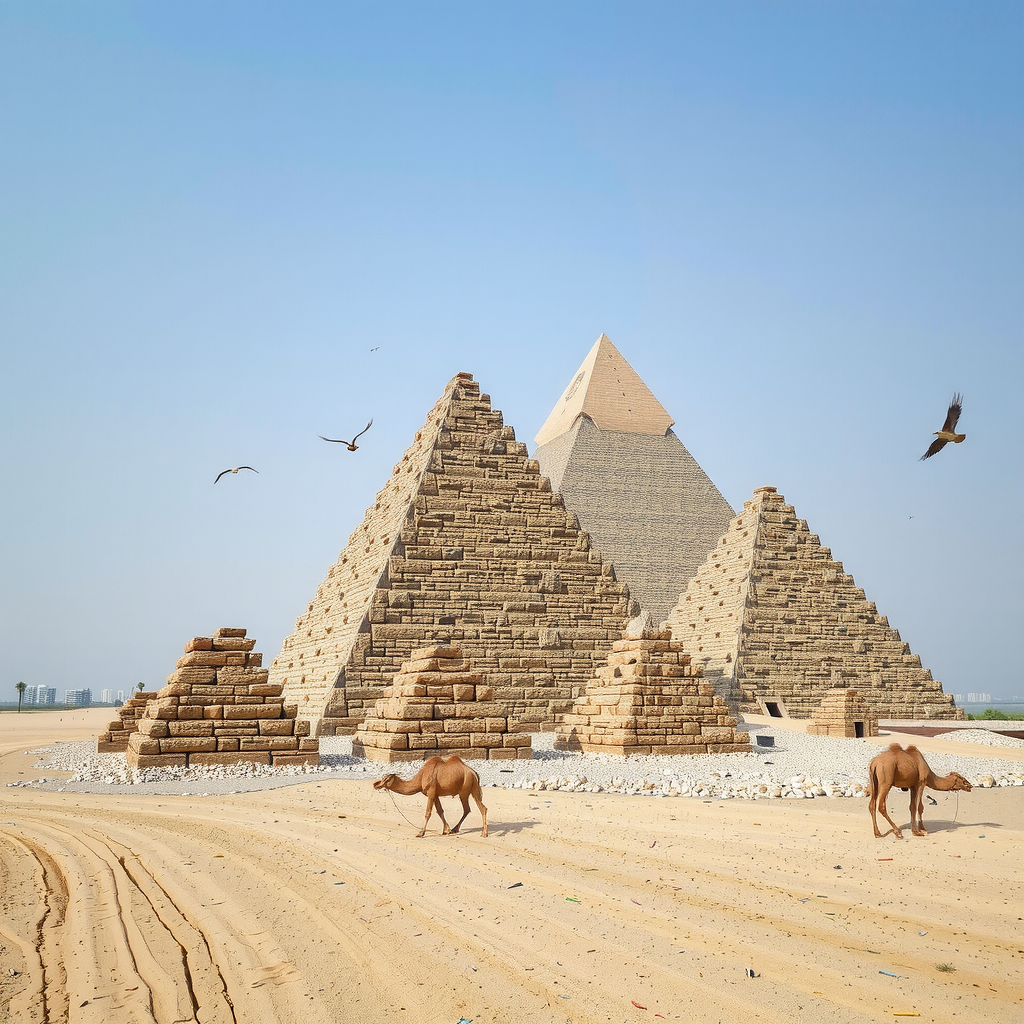
In the above image, a few birds and camels are added to the original image.
Let's increase the values of the strength and guidance_scale parameters to see how this affects the original image.
images = mod_pipe(
    prompt=prompt,
    image=init_image,
    num_inference_steps=50,
    strength=0.85,
    guidance_scale= 10.0,
    ).images[0]

images.save("pyramids_modified2.png")
Output:
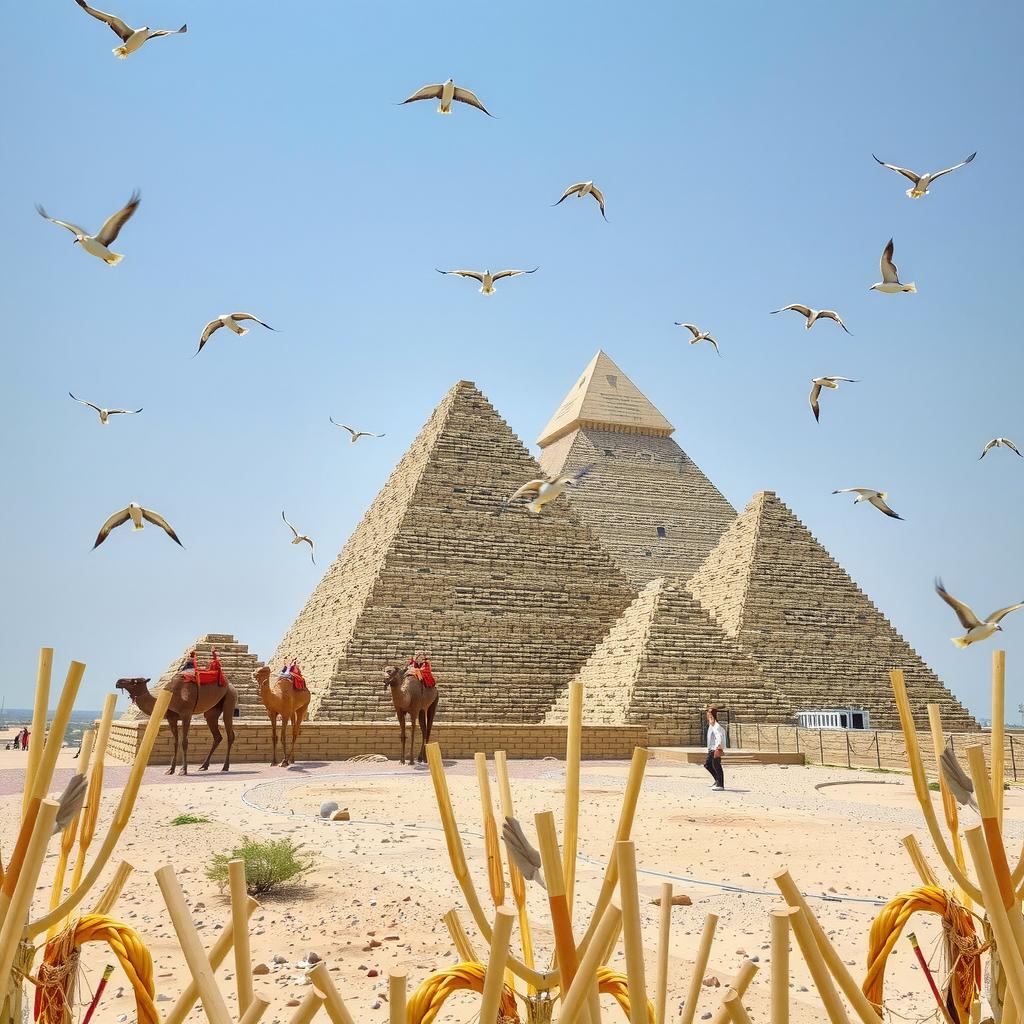
The above output shows that the original image has been modified much more extensively than the previous modification.
Finally, we will define the modify_image() function, which accepts the image URL, the prompt to modify the image, and the name for the modified image and modifies the passed image.
def modify_image(image_url, prompt, image_name):

  init_image = load_image(url)
  images = mod_pipe(
    prompt=prompt,
    image=init_image,
    num_inference_steps=50,
    strength=0.85,
    guidance_scale= 10.0,
    ).images[0]

  images.save(image_name + ".png")

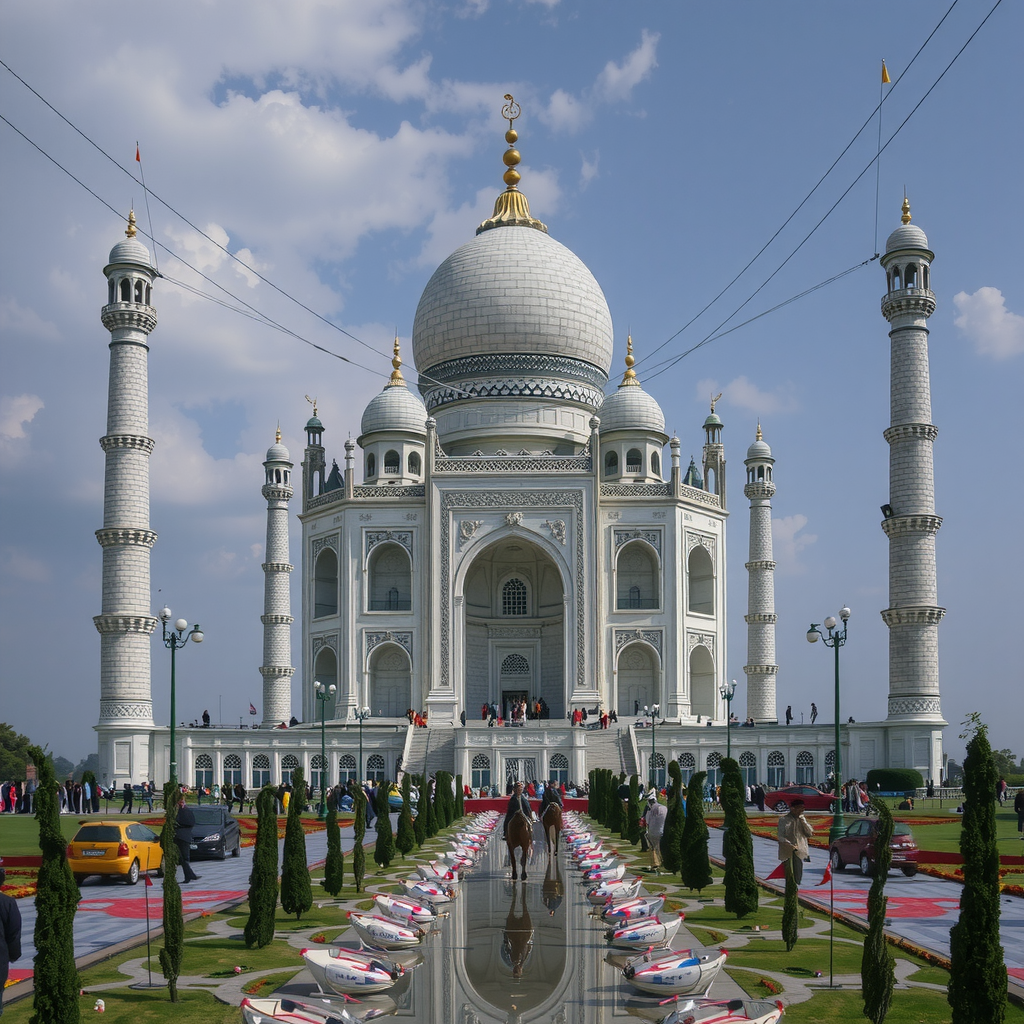
prompt = "cars, horses"
url = "/content/1280px-Taj_Mahal,_Agra,_India_edit3.jpg"
name = "taj_mahal_modified"

modify_image(url, prompt, name)
Here is the input image.
Input Image:
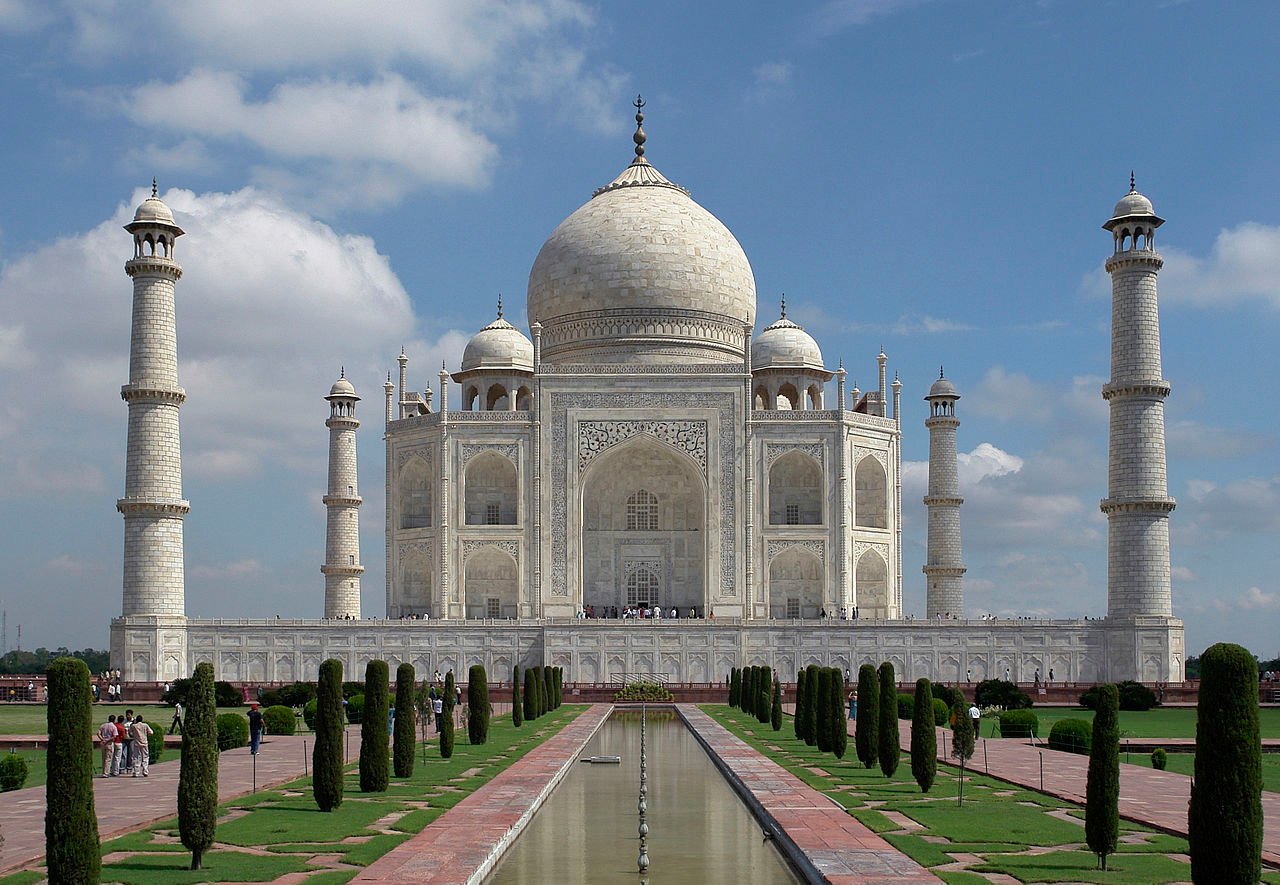
And here is the modified output. You can see some cars and horses added to the image.
Output:
Conclusion
Flux.1 models are the state-of-the-art image generation models. In this article, you saw how to generate and modify images with text prompts using the Flux.1 models. I encourage you to play around with strength and guidance scale parameters to generate and modify your custom images. Let me know if you like the results.